
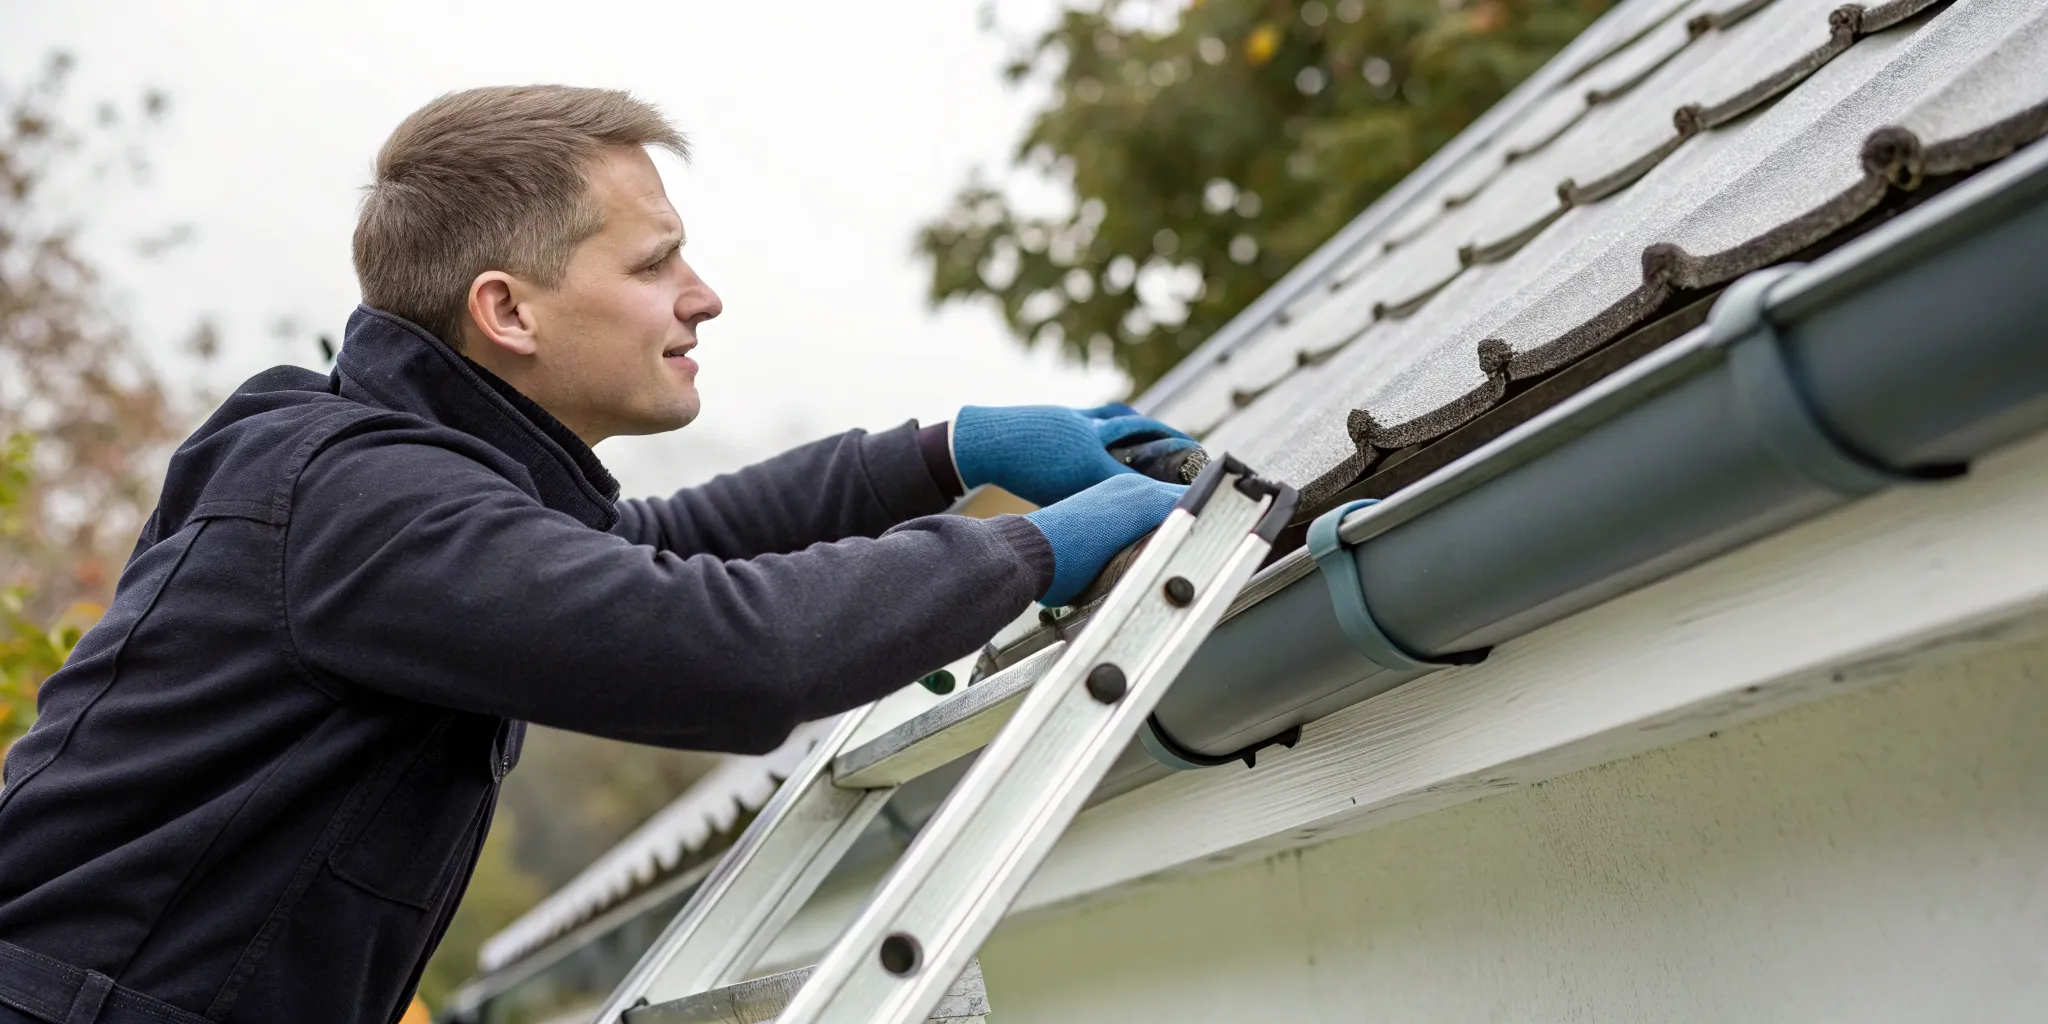
When you spot a leaking gutter, the first instinct is to grab whatever caulk you have and patch it up. Unfortunately, this quick fix often fails within a few months, leaving you right back on the ladder. A lasting repair requires more than just a quick smear of sealant; it requires the right preparation and the right product. Using the wrong type of leaking gutter joint sealant or applying it over a dirty surface will only make the problem worse. Before you start, let’s walk through the common mistakes people make so you can avoid them and get the job done right the first time.
Key Takeaways
- Pinpoint the Leak's Exact Source: Before starting any repair, confirm the leak's location. Look for water stains and drips during rain, or run a hose test on a dry day to see exactly where water is escaping the joint.
- Always Prep and Seal from the Inside: For a seal to last, you must completely clean the joint and remove all old, failing sealant. Apply a continuous bead of new, flexible sealant to the inside of the gutter, where it can effectively block water at its source.
- Recognize When to Call for Help: A single drip can often be a DIY fix, but widespread issues like multiple leaks, sagging gutters, or extensive rust point to a bigger problem. Call a professional to diagnose the root cause and prevent serious foundation damage.
Why Are My Gutter Joints Leaking?
That steady drip, drip, drip from a gutter joint is more than just an annoying sound. It’s a sign that water isn’t going where it’s supposed to, and that can lead to bigger problems like stained siding, landscape erosion, and even foundation issues. If you’ve spotted a leak, you’re probably wondering what went wrong. Most of the time, a leaking gutter joint isn’t a sign of a major catastrophe. It’s usually caused by one of a few common culprits that are straightforward to identify.
The main reasons your gutter joints are leaking often come down to three things: the dramatic temperature swings we get here in Texas, clogs from leaves and debris, or simple wear and tear over time. Your gutters work hard, and the seams or joints are the most vulnerable points in the system. Understanding why they fail is the first step toward a lasting fix. Before you climb a ladder, let’s walk through what causes these leaks, so you know exactly what you’re looking for. Our expert team handles these kinds of gutter repairs all the time, and we can help you pinpoint the problem.
How Temperature Changes Cause Leaks
You know how Texas weather can go from scorching hot to chilly in a short span? Your gutters feel it, too. Gutter materials, especially metal and vinyl, naturally expand in the heat and shrink in the cold. This movement is called thermal expansion. To account for this, gutters need a small amount of space at the joints, often called an expansion gap. If there isn't enough room for this movement, the ends of the gutter sections can push against each other and break the sealant. Over time, this constant push-and-pull weakens the joint and creates a path for water to escape.
The Problem with Clogged Gutters
A handful of leaves or a build-up of pine needles might not seem like a big deal, but clogged gutters are one of the leading causes of joint leaks. When debris blocks the flow of water, it creates a dam. Rainwater pools in that section of the gutter instead of flowing to the downspout. This standing water adds a lot of weight and constant pressure on the nearest joint. Water is persistent and will always find the weakest point to escape, which is almost always a seam. Regular gutter cleaning is the best way to prevent these clogs from turning into costly leaks and water damage.
When Seals Age and Gutters Shift
Just like anything else exposed to the elements, the materials that make up your gutter system wear out over time. The rubber or silicone seals inside the joints are especially vulnerable. Years of sun exposure can cause the seals to become hard, brittle, and lose their elasticity, preventing them from creating a watertight connection. In other cases, the problem isn't the seal itself but the gutter's alignment. If the brackets holding the gutter come loose or the fascia board they’re attached to begins to rot, the gutter sections can sag or shift apart. This movement is often enough to break the seal and cause a persistent leak.
How to Spot a Leaking Gutter Joint
Catching a leak early is the best way to stop a small drip from turning into a major headache. A leaking gutter joint might seem like a minor annoyance, but that escaping water can cause serious damage to your home’s fascia, siding, and even its foundation. The good news is that you don’t need to be a pro to play detective. With a little bit of observation, you can pinpoint the source of the problem before it gets out of hand.
Most leaks happen for a few common reasons: temperature changes cause the materials to expand and contract, debris gets stuck and forces water out, or the sealant simply gets old and wears away. Whatever the cause, the result is the same: water isn't going where it's supposed to. By regularly inspecting your gutters, you can identify these issues and address them quickly. Here are three simple ways to spot a leaking gutter joint.
Look for Telltale Visual Signs
Start by looking for the obvious clues. During or right after it rains, walk around your house and watch your gutters in action. Do you see any drips or streams of water coming from the seams where two gutter sections meet? Even on a dry day, you can spot evidence of a leak. Look for water stains, peeling paint, or mildew on the fascia board directly behind or below the gutter joints. You might also notice dirt streaks or grime that indicate where water has been consistently escaping. These visual cues are your gutter system’s way of telling you it needs a little attention.
Perform the "Hose Test"
If you suspect a leak but can’t catch it in the act, the hose test is your best friend. Safely position a ladder and have a friend run a garden hose on a gentle stream into the gutter, a few feet away from the joint you’re inspecting. Let the water run toward the joint and watch it closely from the ground. This simple test will quickly reveal even the smallest drips that you might otherwise miss. It’s a reliable way to confirm a leak’s exact location, so you know precisely where to focus your gutter repair efforts. Just be sure to work safely and never stand on the top rungs of your ladder.
Check for Stains and Foundation Issues
A leaking gutter joint doesn’t just affect the gutter itself; it directs water where it shouldn’t go. Take a step back and inspect the side of your house below the suspicious joint. Look for vertical water stains on your siding or brick. Over time, this constant dampness can cause paint to bubble and wood to rot. More importantly, check the ground directly underneath. Are there small channels carved into your flower beds or signs of soil erosion? Pooling water near your home is a major red flag, as it can lead to serious and expensive foundation issues. Spotting these problems early is crucial for protecting your home’s structural integrity.
What's the Best Sealant for Gutter Joints?
Walking down the sealant aisle can feel overwhelming. You'll see dozens of tubes that all seem to promise the same thing. But when it comes to your gutters, picking the right sealant is the difference between a quick fix and a lasting repair that protects your home's foundation. The wrong choice, like a basic acrylic caulk, will quickly crack and fail under the Texas sun and rain.
To get the job done right, you need a sealant that's waterproof, flexible, and durable. The three most reliable options for gutter joints are silicone, polyurethane, and butyl rubber. Each has its own strengths, and the best one for you might depend on your gutter material and how comfortable you are with the application process. Let's break down what makes each type a solid choice for sealing those pesky leaks for good.
Silicone Sealants
Silicone is a fantastic all-around choice, especially if you're tackling this repair yourself. Its main advantage is its incredible water resistance. Unlike acrylic caulk, which is meant for drier indoor areas, silicone is specifically designed to handle constant water exposure, making it a natural fit for gutters. It stays flexible after it cures, allowing it to move with your gutters as they expand and contract with temperature changes. Application is usually straightforward, and it’s relatively easy to work with. Just be sure to check the label, as some silicone sealants aren't paintable, which could be a factor if you want the repair to blend in perfectly.
Polyurethane Sealants
If you're looking for a commercial-grade solution, polyurethane is your go-to. Think of it as the heavy-duty option that pros often rely on. Polyurethane sealants create an incredibly strong and durable bond that is resistant to moisture, corrosion, and harsh UV radiation. According to sealant experts at Loctite, a quality polyurethane sealant is a commercial-grade product formulated for exactly this kind of exterior work. Its superior flexibility means it won't crack under pressure, making it ideal for the temperature swings we see in Texas. While it can be a bit messier to apply than silicone, it’s often paintable, giving you a clean, finished look.
Butyl Rubber Sealants
Butyl rubber, often sold as a tripolymer sealant, is another top-tier choice for gutter repairs. It offers exceptional adhesion and remains permanently flexible, which is exactly what you need for a joint that expands and contracts. This type of sealant sticks to almost any gutter material, including aluminum, vinyl, and steel, creating a watertight seal that lasts for years. In fact, some experts recommend a tripolymer formula as the best overall sealant for gutter repairs because of its impressive performance and durability. It’s a fantastic option if your main goal is a long-term fix that you won’t have to think about again anytime soon.
How to Choose a Quality Gutter Sealant
Walking down the sealant aisle at a hardware store can be overwhelming. With so many tubes and promises, how do you pick the right one for your gutters? The truth is, not all sealants are created equal, and choosing the wrong one can mean you’ll be right back on that ladder in a few months. A quality sealant is your first line of defense against leaks that can damage your siding, landscaping, and even your home’s foundation.
For Texas homeowners, the stakes are even higher. The intense sun and sudden, heavy downpours demand a product that can handle extreme conditions without failing. To make a lasting repair, you need a sealant that is waterproof, flexible, and durable enough to withstand the weather. Let’s break down exactly what to look for to make sure you get the job done right the first time.
Ensure It's Waterproof and Weather-Resistant
This might seem obvious, but it’s the most critical factor. The entire point of the sealant is to create a watertight barrier. Look for products specifically labeled as "100% waterproof" and "weather-resistant." A good sealant should be able to handle constant exposure to moisture without breaking down. For example, some commercial-grade polyurethane sealants are specifically formulated for sealing exterior gaps and joints. They create a durable seal that resists moisture and corrosion, which is exactly what you need to keep your gutters from dripping and protect your home’s foundation from water damage.
Prioritize Flexibility and Strong Adhesion
Your gutters aren't static; they expand in the summer heat and contract during cold snaps. A rigid sealant will crack under this constant movement, quickly leading to another leak. You need a sealant that stays flexible long after it cures. Strong adhesion is just as important. The product must form a powerful bond with your gutter material, whether it’s aluminum, vinyl, or steel. Some high-performance products are known for their ability to provide the strongest adhesive bond and even seal instantly, which is a huge plus if you’re trying to finish a repair before the next rainstorm.
Check for UV Resistance and Durability
The Texas sun is relentless, and its UV rays can degrade sealants over time, causing them to become brittle and fail. A sealant with excellent UV resistance will hold up much longer, saving you from future repairs. Look for products designed for outdoor use and exposure to direct sunlight. The best gutter sealants create a tough, flexible skin that won’t sag in the heat or crack when the temperature drops. Investing in a durable, UV-stable sealant ensures your repair will last through many seasons of harsh weather, not just one.
Consider Cure Time and Ease of Use
Finally, think about the practical side of the application. "Cure time" refers to how long it takes for the sealant to fully harden and become effective. This can range from a few hours to several days, so check the product label and plan accordingly, especially with rain in the forecast. Some joints might not hold together on their own, so you may need to apply clamps or binding while the sealant cures. Also, consider how easy the product is to apply. Most sealants come in a caulk tube for simple application, but reading a few reviews can give you a good idea of how smoothly the product goes on.
Your Step-by-Step Guide to Fixing a Leaking Gutter Joint
A dripping gutter joint might seem like a small annoyance, but it’s a sign that your home's first line of defense against water damage is compromised. Over time, even a tiny leak can lead to stained siding, a soggy landscape, and even serious foundation issues. The good news is that sealing a leaking gutter joint is often a manageable weekend project. With the right approach and a bit of patience, you can get your gutters working properly again.
Before you climb any ladders, remember that safety is your top priority. Make sure your ladder is stable and have a spotter if possible. This guide will walk you through the entire process, from finding the leak to applying a new, watertight seal. We’ll cover gathering your materials, cleaning the area properly, and applying sealant like a pro. Following these steps carefully will ensure a durable repair that protects your home. If the job feels too big or you'd rather leave it to the experts, our team is always ready to help with professional gutter repair.
Gather Your Tools and Materials
Getting all your supplies ready before you start makes the job go much smoother. You don’t want to be stuck on a ladder wishing you had brought something up with you. Here’s a quick checklist of what you’ll need:
- A sturdy ladder or scaffolding
- A bucket for debris
- Work gloves
- Safety glasses
- A cloth or sponge and warm, soapy water
- A putty knife or flat-head screwdriver
- A tube of high-quality, waterproof outdoor sealant
- A sealant or caulk gun
Make sure the sealant you choose is specifically designed for outdoor use on gutters. A good silicone sealant is usually a reliable choice because it stays flexible and waterproof.
Step 1: Find and Confirm the Leak
You can’t fix a leak if you don’t know exactly where it’s coming from. While you might see drips from a certain joint, the actual failure point could be slightly different. The most reliable way to pinpoint the source is with a simple hose test. Safely position your ladder near the suspected leaky joint. Have a helper on the ground turn on a garden hose to a gentle stream, and run the water into the gutter a few feet upstream from the joint. Watch the outside of the joint closely to see exactly where the water escapes. This helps you confirm the leak's location before you start applying sealant.
Step 2: Clean and Dry the Joint
For the new sealant to create a strong, lasting bond, the surface must be perfectly clean and dry. Start by scooping out any leaves, twigs, or other debris from the area around the joint. Next, use a cloth and warm, soapy water to scrub the inside of the joint and the gutter ends. You need to remove all the dirt, algae, and grime. While you’re there, inspect the rubber seal inside the joint. If it looks cracked, brittle, or flattened, it’s best to replace it. Finally, dry the area completely with a clean, dry cloth. Let it air dry for a bit to ensure all moisture is gone.
Step 3: Remove Old Sealant
Applying new sealant over old, failing sealant is a recipe for another leak. You need to remove every last bit of the old material. A putty knife, a small scraper, or a flat-head screwdriver works well for this. Carefully scrape and peel away the old sealant from the inside of the joint. Be patient and thorough, but also be gentle enough that you don’t gouge or damage the gutter itself. Once the old sealant is gone, give the area another quick wipe to remove any dust or loose particles. A perfectly clean surface is essential for a successful repair.
Step 4: Apply New Sealant from the Inside
Now you’re ready to apply the new sealant. Always apply it to the inside of the gutter joint, not the outside. When water flows through the gutter, its pressure will help push the sealant into the gap, reinforcing the seal. Use your sealant gun to apply a thick, continuous bead of sealant along the seam. Make sure you cover the entire joint where the two gutter sections meet. If you replaced the rubber gasket, apply a thin line of sealant where the gasket sits to create an extra layer of protection. Don’t be shy with the sealant; it’s better to use a little too much than not enough.
Step 5: Mind the Expansion Gap
Gutters are designed to expand and contract as the temperature changes. To allow for this movement, there should be a small gap between the two gutter ends inside the joint fitting. This is called an expansion gap. If the gutter ends are jammed tightly together, they can push against each other during hot weather, causing the joint to buckle and fail. As you reassemble the joint, check to make sure there’s a small space between the sections. This simple step prevents future leaks caused by thermal expansion and is a key part of a proper fix.
Step 6: Smooth, Cure, and Test Your Work
Once the sealant is applied, you can smooth the bead with a wet fingertip or a small plastic spoon for a clean, professional finish. This also helps press the sealant firmly into the seam. Now comes the most important part: waiting. Your sealant needs time to cure, or harden, completely. This can take anywhere from 24 to 48 hours, but you should always check the product label for specific instructions. Don’t rush this step. Once the sealant has fully cured, run the hose test one more time to ensure your repair is watertight. If it’s dry, you’ve successfully fixed the leak.
Common Mistakes That Make Gutter Leaks Worse
When you spot a leaking gutter joint, your first instinct is probably to patch it up as quickly as possible. I get it, you want to prevent water from damaging your home's foundation. But a hasty repair can sometimes do more harm than good. Some common DIY shortcuts create a fix that fails in a few weeks, leaving you right back where you started, or even with a bigger problem. To make sure your repair lasts, it’s just as important to know what not to do. Let’s walk through the most frequent missteps so you can avoid them and get the job done right the first time.
Applying New Sealant Over Old
It’s tempting to just smear a new layer of sealant over the old, cracked stuff. It seems faster and easier, but this is one of the biggest mistakes you can make. Think of it like painting over peeling paint; it’s a temporary fix that will fail quickly. The new sealant can't form a strong, waterproof bond if it’s sitting on top of failing material. The old sealant prevents the new layer from adhering directly to the gutter, leading to uneven drying and a weak seal that’s prone to cracking. To get a lasting repair, you have to completely remove the old sealant first.
Skipping Prep or Sealing a Wet Joint
Proper preparation is everything when it comes to sealing gutter joints. Applying sealant to a dirty or wet surface is a recipe for failure. Any dirt, leaves, old sealant residue, or moisture will prevent the new sealant from creating a watertight bond. The area must be completely clean and dry before you begin. Take the time to scrub the joint with a wire brush and wipe it down with a clean cloth. Unless you are using a product specifically designed for wet conditions, patience is key. Let the area air dry completely before applying any new sealant to ensure your gutter repair holds up.
Sealing Only the Outside
When you see a drip on the outside of a gutter joint, it’s easy to think that’s where the sealant should go. However, applying sealant to the exterior of the joint is only a cosmetic, temporary patch. Water flows inside the gutter, so that’s where the pressure is. A seal on the outside won’t hold back the water for long and will eventually fail. The correct way to fix the leak is from the inside of the gutter channel. This creates a barrier that stops the water at its source, ensuring a durable, long-lasting repair that truly fixes the leaking joint.
Using the Wrong Type of Sealant
Not all sealants are created equal, and using the wrong one is a guaranteed way to have to do this job all over again. Many people grab a general-purpose acrylic caulk, but it simply can’t withstand the harsh conditions inside a gutter. It will crack and peel when exposed to constant water and Texas’s dramatic temperature swings. For gutters, you need a high-quality, 100% silicone or polyurethane sealant. Choose a sealant that is specifically labeled as waterproof, flexible, and UV-resistant to ensure it can expand and contract with your gutters without breaking the seal.
Should You Repair or Replace Your Gutters?
Deciding whether to patch up your gutters or invest in a full replacement is a big question for any homeowner. On one hand, a quick fix is easier on the wallet right now. On the other, ignoring a bigger problem can lead to costly water damage down the road. The right choice depends on the type and extent of the damage. By learning to spot the key differences, you can make a confident decision that protects your home and your budget.
When a Simple Repair Is Enough
If your gutter system is relatively new and the damage is isolated, a simple repair is often all you need. Think of small issues like a single leaking joint, a few minor cracks, or one or two loose hangers. For tiny cracks or holes, a quality sealant can work wonders. You can spot these small leaks by looking for damp spots or smelling mustiness near your foundation after it rains. As long as the rest of your gutters are structurally sound and free of widespread rust or damage, a targeted gutter repair is a smart, cost-effective solution to keep your system working properly.
Signs It's Time for a Replacement
Sometimes, a patch job just won’t cut it. If your gutters have suffered major trauma, like from a fallen tree branch, it’s time to think about replacement. Widespread rust that has eaten through the metal or numerous large holes are also clear signs that the system is failing. Sealant can't fix these kinds of structural problems. If you find yourself constantly fixing leaks in different spots, you’re fighting a losing battle. A full replacement with a modern seamless gutter system is a better long-term investment that provides lasting protection for your home.
Watch for Sagging, Rust, or Frequent Leaks
Keep an eye out for a few major red flags that almost always point to replacement. If you notice your gutters are sagging or pulling away from the house, it’s a serious issue. This often means the fasteners have failed and the fascia board they’re attached to could be rotting. While a tiny bit of rust can sometimes be sanded and sealed, widespread rust flakes or orange streaks indicate the metal is deteriorating. Remember, even a seemingly small leak can cause significant problems, including wood rot and foundation issues. If you’re dealing with these recurring headaches, it’s time to stop patching and start planning for a replacement to prevent serious water damage.
How to Maintain Your Gutter Joints
Once you’ve sealed your leaking gutter joint, the last thing you want is a repeat performance. A little proactive maintenance goes a long way in preventing future leaks and protecting your home from water damage. Think of it as simple preventative care for your home’s most important defense system. By staying on top of your gutter health, you can catch small issues before they turn into big, expensive problems. Regular checks and a basic understanding of how your gutters work will help you keep them in top shape for years to come.
Set a Regular Inspection Schedule
The easiest way to prevent major leaks is to catch them when they’re just starting. Make it a habit to inspect your gutter joints at least twice a year, ideally during your spring and fall gutter cleaning. Look for any signs of separation, cracking, or movement between gutter sections. Pay close attention to the seams and corners, as these are the most common failure points. If you spot sealant that looks brittle, discolored, or is pulling away from the gutter, it’s a clear sign that it’s time for a touch-up. A quick visual check can save you from a world of trouble later.
Fix Small Leaks Before They Grow
If you notice a small drip or a damp spot under a gutter joint, don’t put it on the back burner. A tiny leak might not seem like a big deal, but it’s a warning sign. Over time, that small drip can weaken the joint, saturate the fascia board behind it, and even contribute to foundation issues. The good news is that fixing a small leak is a quick and easy job. A fresh application of quality sealant is often all it takes. Addressing these minor issues promptly is one of the most effective ways to extend the life of your gutter system and avoid a more complex gutter repair down the line.
Understand How Texas Weather Affects Your Gutters
Here in Texas, our weather can be tough on a house, and your gutters are no exception. The intense summer heat causes gutter materials to expand, and then they contract when the temperature drops. This constant movement puts a lot of stress on the sealant in the joints. If there isn't enough room for this expansion and contraction, the sealant can crack or pull away, creating a leak. This is why it’s so important for Texas homeowners to inspect their gutters regularly. Understanding how the climate impacts your home helps you know what to look for and why our professional gutter services are designed to withstand our unique weather patterns.
Know When to Call a Professional
I love a good DIY project, and fixing a small gutter leak can feel like a major win. A tube of sealant and an afternoon can solve many simple drips. But it’s just as important to know when a problem is bigger than a quick fix. Sealant is a fantastic patch for a minor issue, but it can’t solve underlying structural problems. Pushing a DIY solution too far can sometimes mask a bigger issue until it becomes a costly repair.
Your gut is usually a good guide. If a repair feels too complex or you’re just not comfortable working on a tall ladder, that’s reason enough to get an expert opinion. Beyond that, there are a few clear signs that your gutter problem needs a professional eye. Sealant won't fix problems like gutters that are sloped incorrectly or have pulled away from the house. You should call a professional if you see widespread damage, like multiple leaks, large cracks, or rust that has eaten through the metal. Also, look for sagging gutters, as this indicates the fasteners have failed and the system isn't secure. If you notice water pooling near your foundation, it's a sign your gutter system isn't working correctly and could lead to serious foundation issues.
A professional won't just patch the leak; they'll diagnose the root cause. They can tell if the gutter slope is wrong, if you need more hangers, or if a section is so damaged it needs to be replaced. For persistent leaks, upgrading to a seamless gutter system can eliminate joints altogether, which are the most common failure points. If you're seeing any of the red flags mentioned above, having a professional take a look is the smartest and safest next step to protect your home.
Frequently Asked Questions
Why are my gutter joints leaking in the first place? Most of the time, a leaking joint is caused by one of three things. First, the constant temperature swings in Texas cause gutter materials to expand and contract, which can break the sealant at the seams. Second, clogs from leaves and debris create dams, and the pooled water puts pressure on the joints until it finds a way out. Finally, the sealant and rubber gaskets inside the joints simply get old, brittle, and wear out from years of sun and rain exposure.
What’s the best way to fix a small, dripping joint myself? For a simple drip, a DIY repair is very manageable. The key is proper preparation. You must completely clean the area around the joint, removing all leaves, dirt, and old, failing sealant. Once the surface is perfectly clean and dry, apply a continuous bead of a high-quality waterproof sealant (like a 100% silicone or polyurethane formula) to the inside of the gutter seam. Let it cure completely according to the product's instructions before it rains again.
Can I just put sealant on the outside of the gutter where I see the drip? This is a common mistake, but you should always apply sealant from the inside of the gutter. Water pressure from rain will just push an exterior patch off over time. When you apply sealant to the inside seam, the flow of water actually helps press the sealant into the gap, creating a much stronger and more durable seal that stops the leak at its source.
How do I know if I need a simple repair or a full gutter replacement? A repair is a great option for isolated issues like a single leaky joint, a few small holes, or a couple of loose hangers on an otherwise healthy gutter system. However, you should consider a replacement if you see widespread problems. Red flags include multiple leaks, large cracks, gutters sagging or pulling away from the house, or significant rust that has eaten through the metal. Constantly patching a failing system can be a losing battle.
When should I stop trying to fix it myself and call a professional? You should call a professional if the problem is more than a simple drip. If your gutters are sagging, have large cracks, or show widespread rust, a tube of sealant won't solve the underlying structural issue. A professional can diagnose the root cause, like an incorrect slope or failing hangers, and determine the best long-term solution. It's always smartest to call for an expert opinion if you're uncomfortable on a ladder or if you see water pooling near your home's foundation.